Blog Post
Follow these steps to configure and customize the Blog Post page in your Emoll Shopify theme:
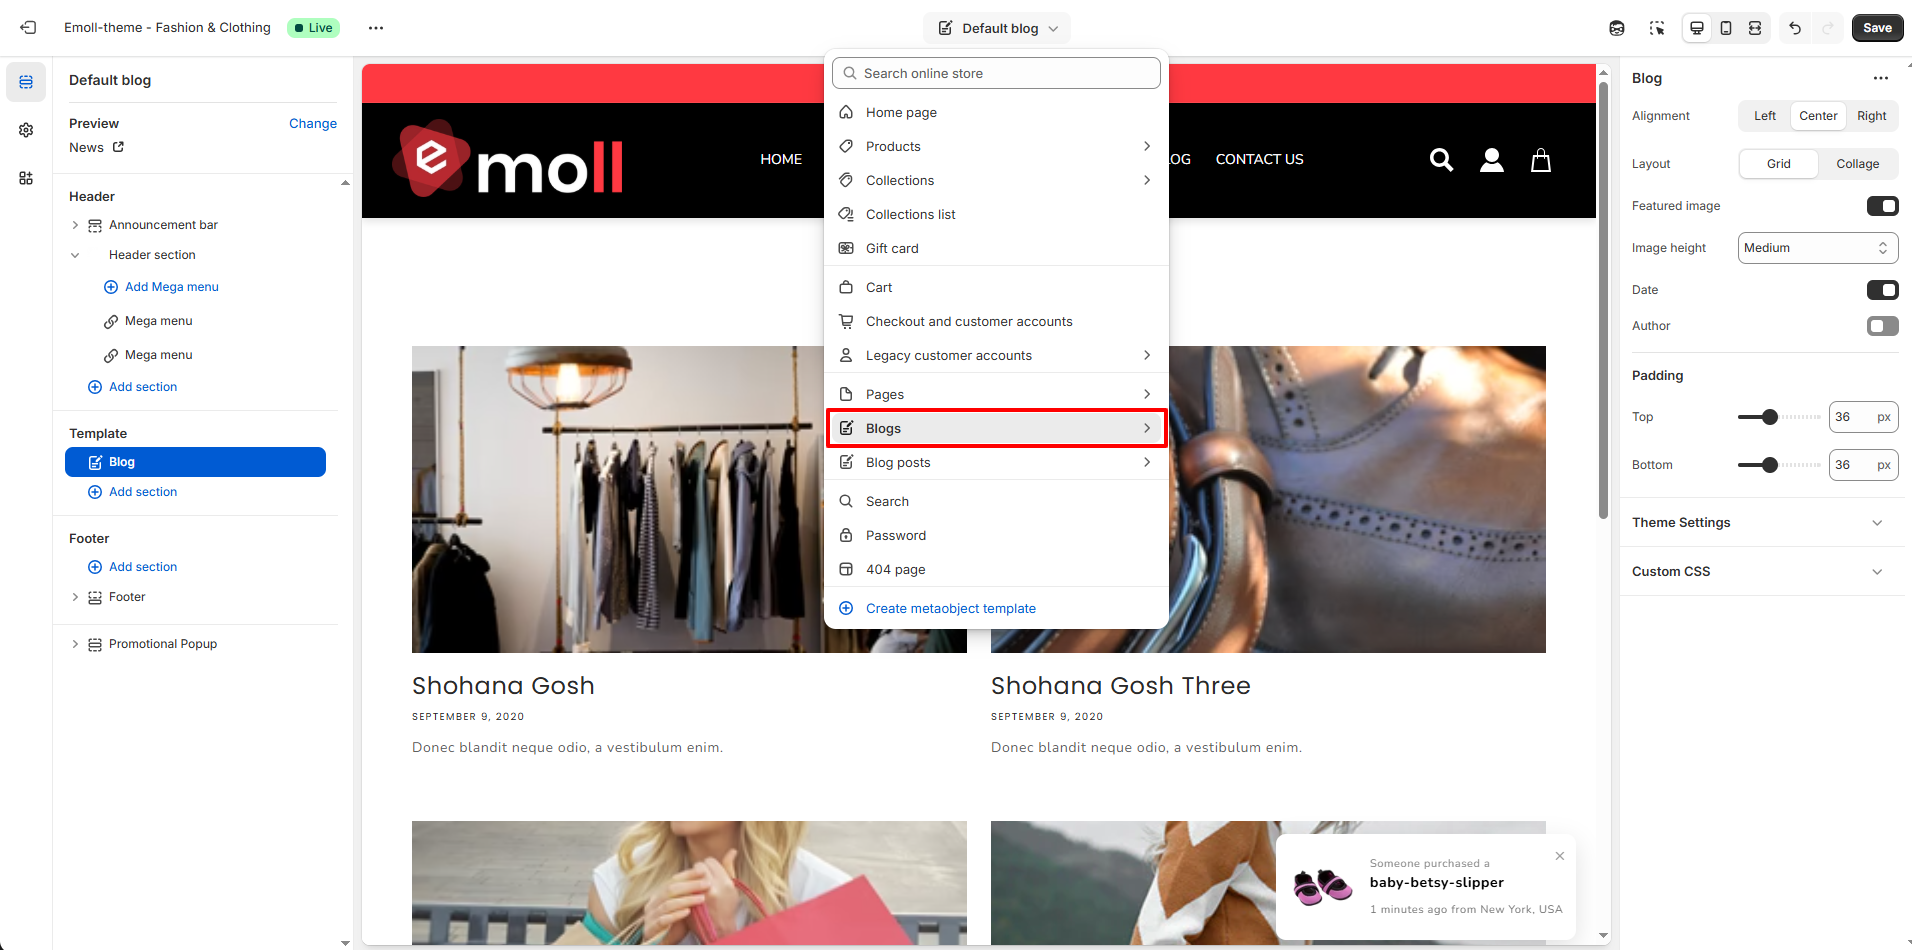
1. Access the Blog Post Settings
- Log in to your Shopify Admin Dashboard.
- Go to Online Store ? Themes.
- Click Customize on your active theme.
- From the top dropdown, select Blog post template.
- Click on the Blog Post section in the left sidebar.
2. Configure Available Blocks
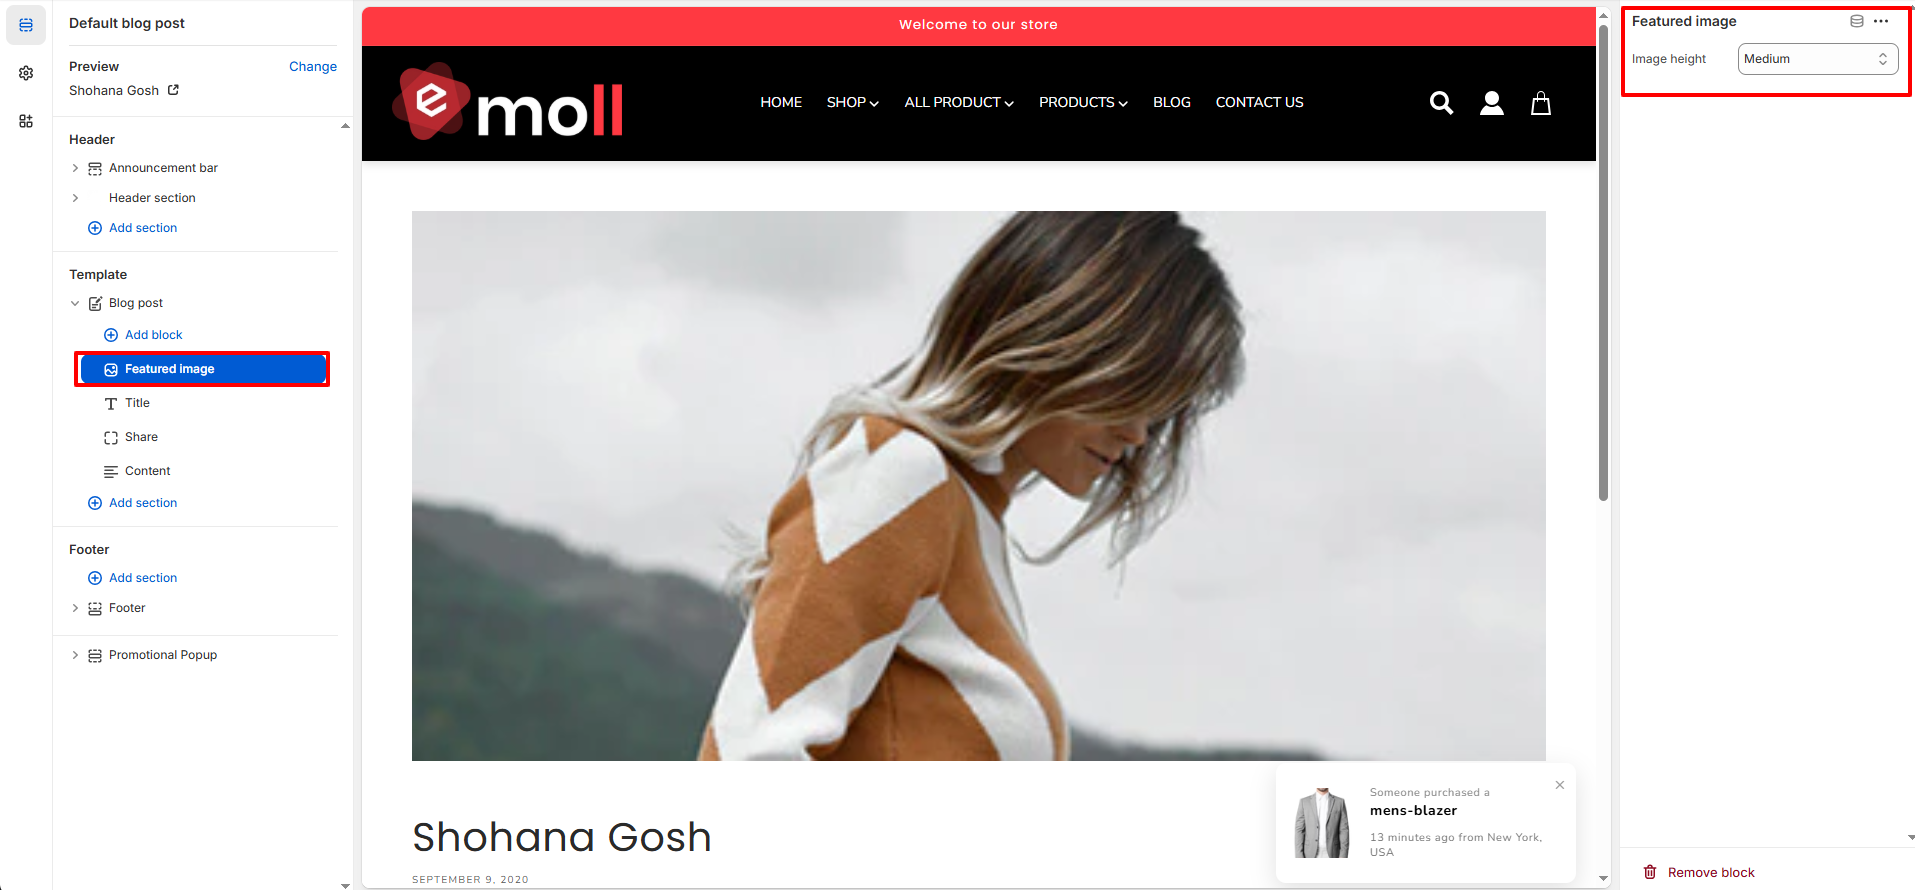
A. Configure the Featured Image Block
Used to display the main blog post image and control its height to enhance the visual presentation of the article.
- In the Blog post template, click on the Featured image block.
- In the right sidebar, locate the Image height option.
- Select your preferred image height (e.g., Small, Medium, or Large).
- The changes will be reflected instantly in the preview panel.
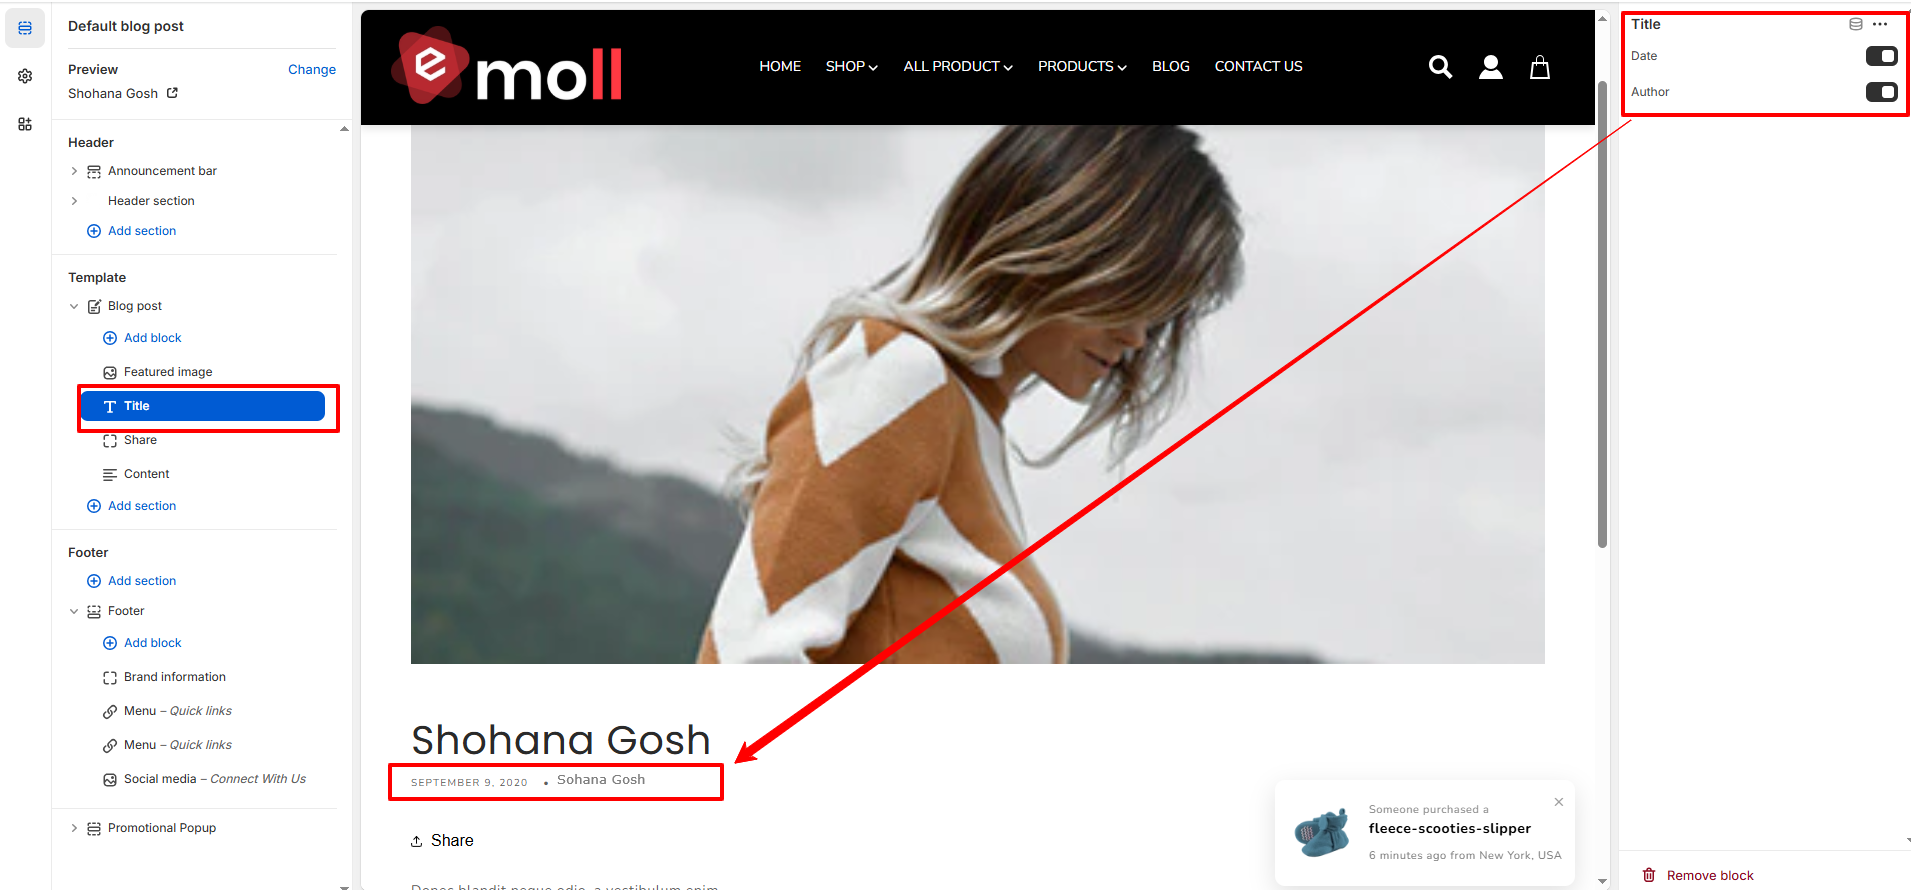
B. Configure the Title Block
Used to display the blog post title along with optional metadata such as publish date and author name.
- In the Blog post template, click on the Title block.
- In the right sidebar, enable or disable the Date option to show or hide the publish date.
- Enable or disable the Author option to display or hide the author name.
- The changes will update instantly in the preview area.
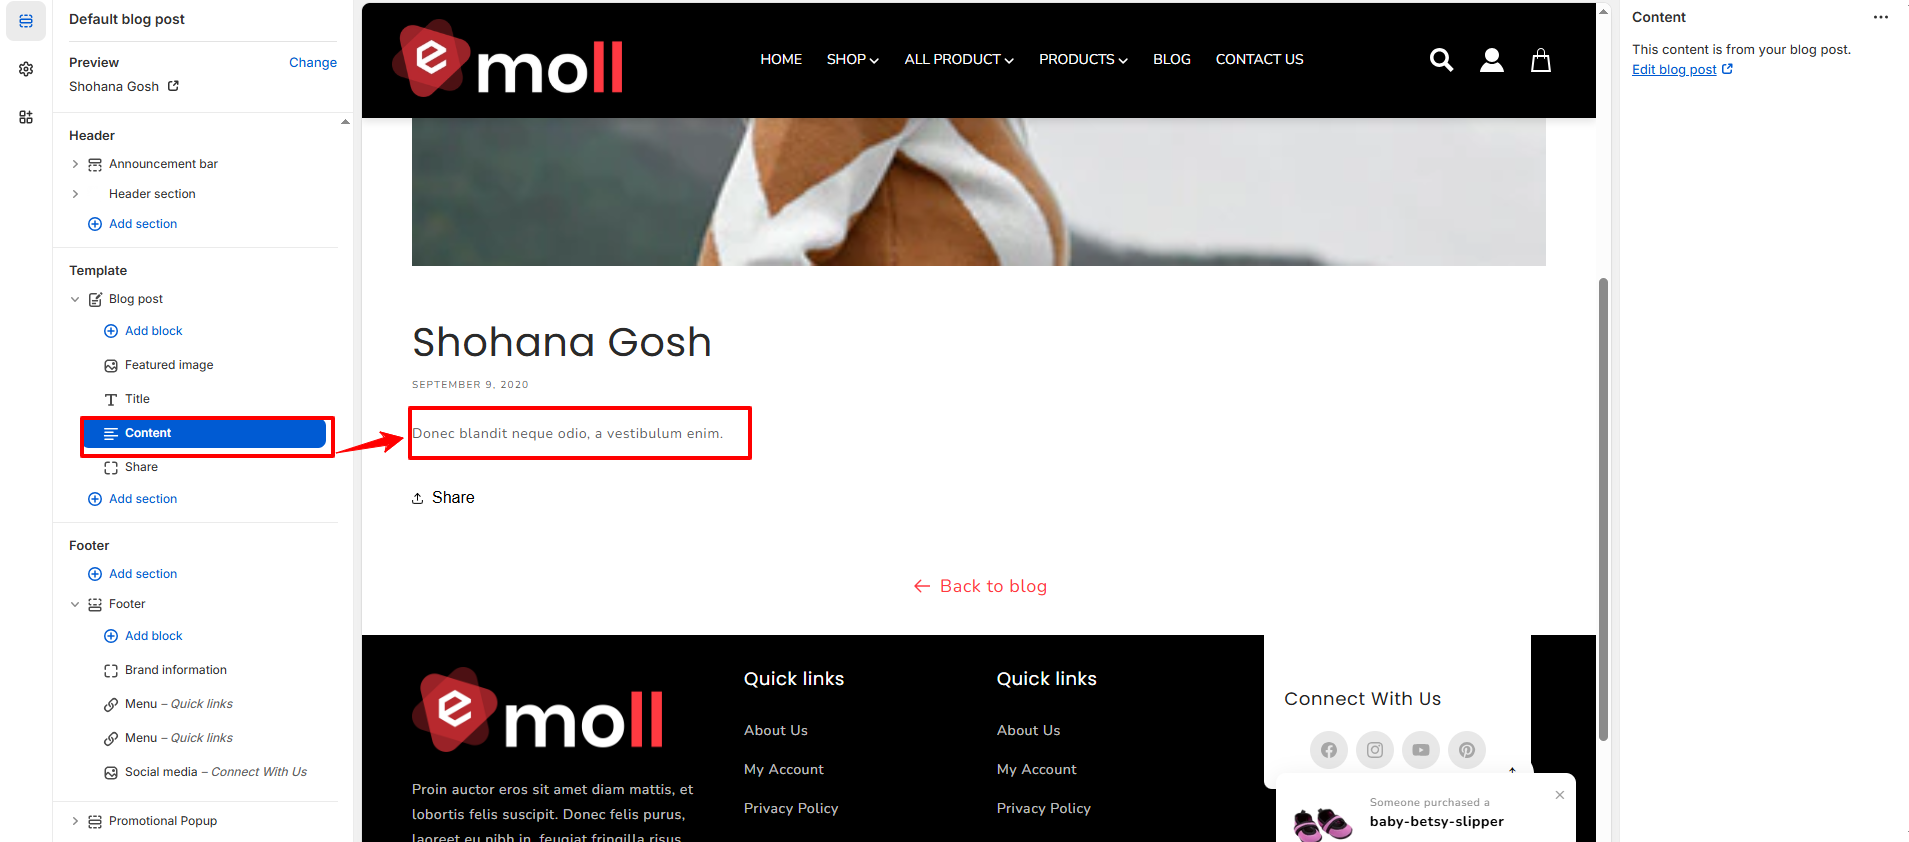
C. Configure the Content Block
Used to show the main blog post content that is added from the blog editor in the Shopify admin.
- In the Blog post template, click on the Content block.
- This section automatically displays the content added to your blog post.
- Click Edit blog post in the right sidebar to modify the blog content.
- Any updates made to the blog post will reflect instantly in the preview.
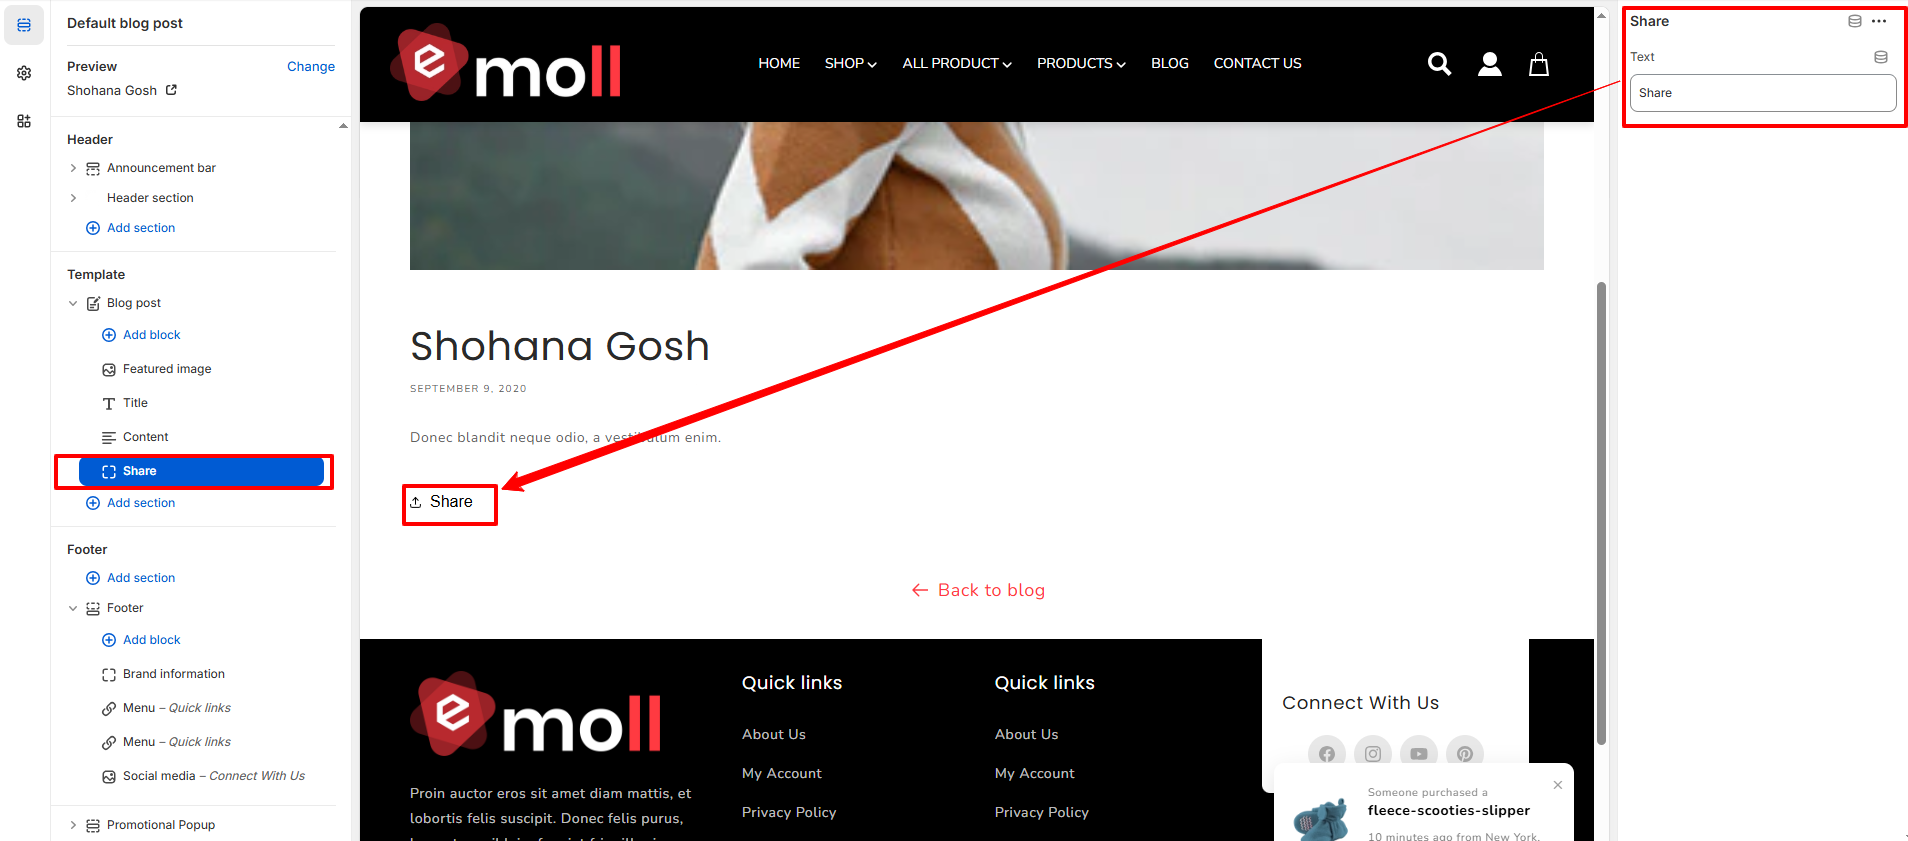
D. Configure the Share Block
Share Block: Used to display a share button that allows visitors to share the blog post
- In the Blog post template, click on the Share block.
- In the right sidebar, edit the Text
- The updated label will appear instantly on the blog post page.